Playlist
Show Playlist
Hide Playlist
Pleural Membranes – Pulmonary Structures and Esophagus
-
Slides 03 Thoracic Viscera Canby.pdf
-
Download Lecture Overview
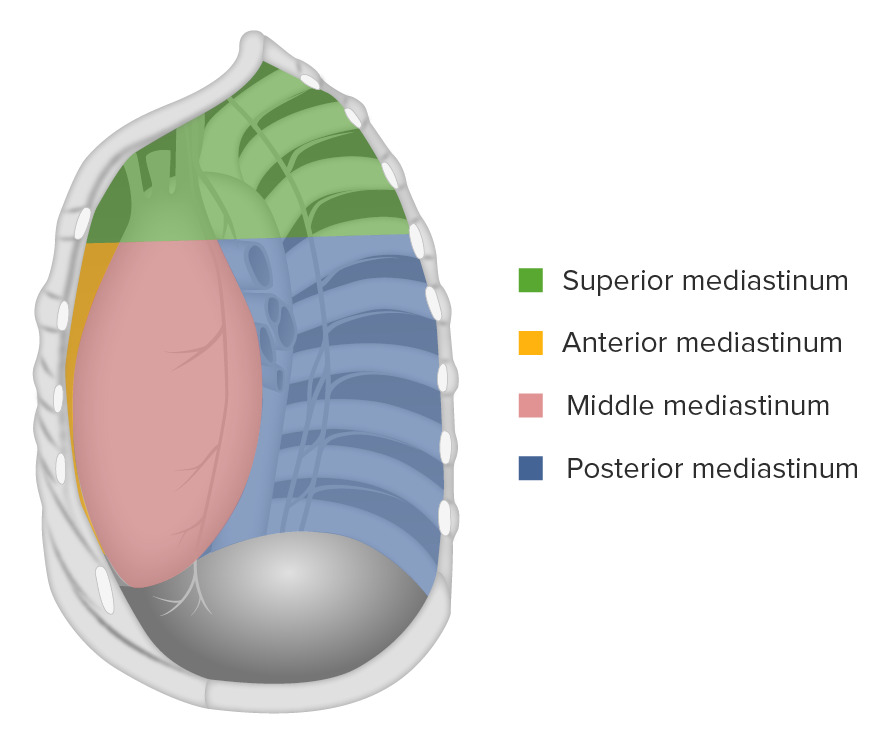
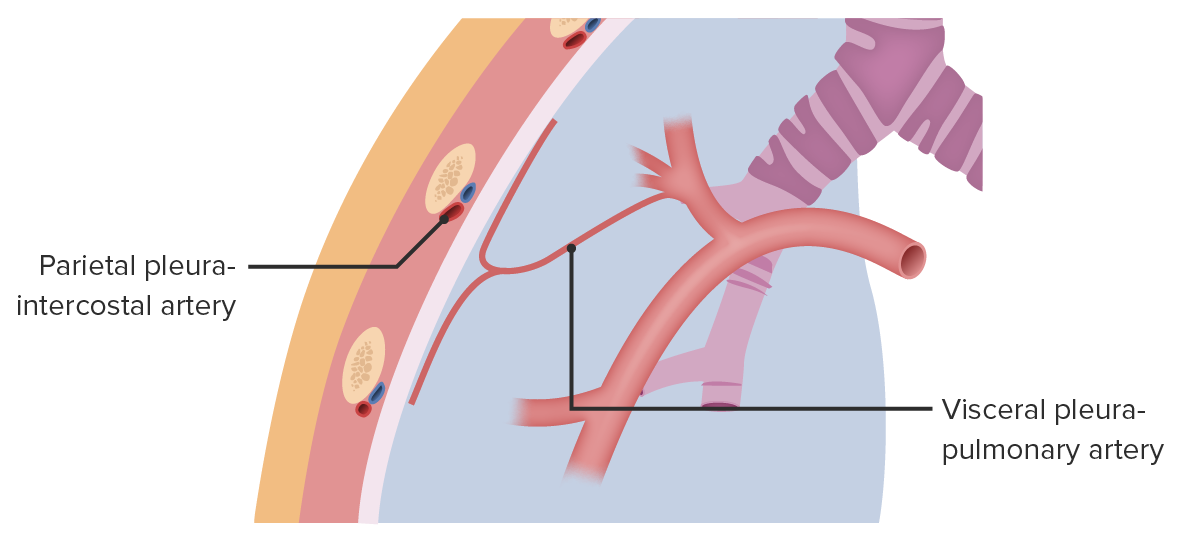
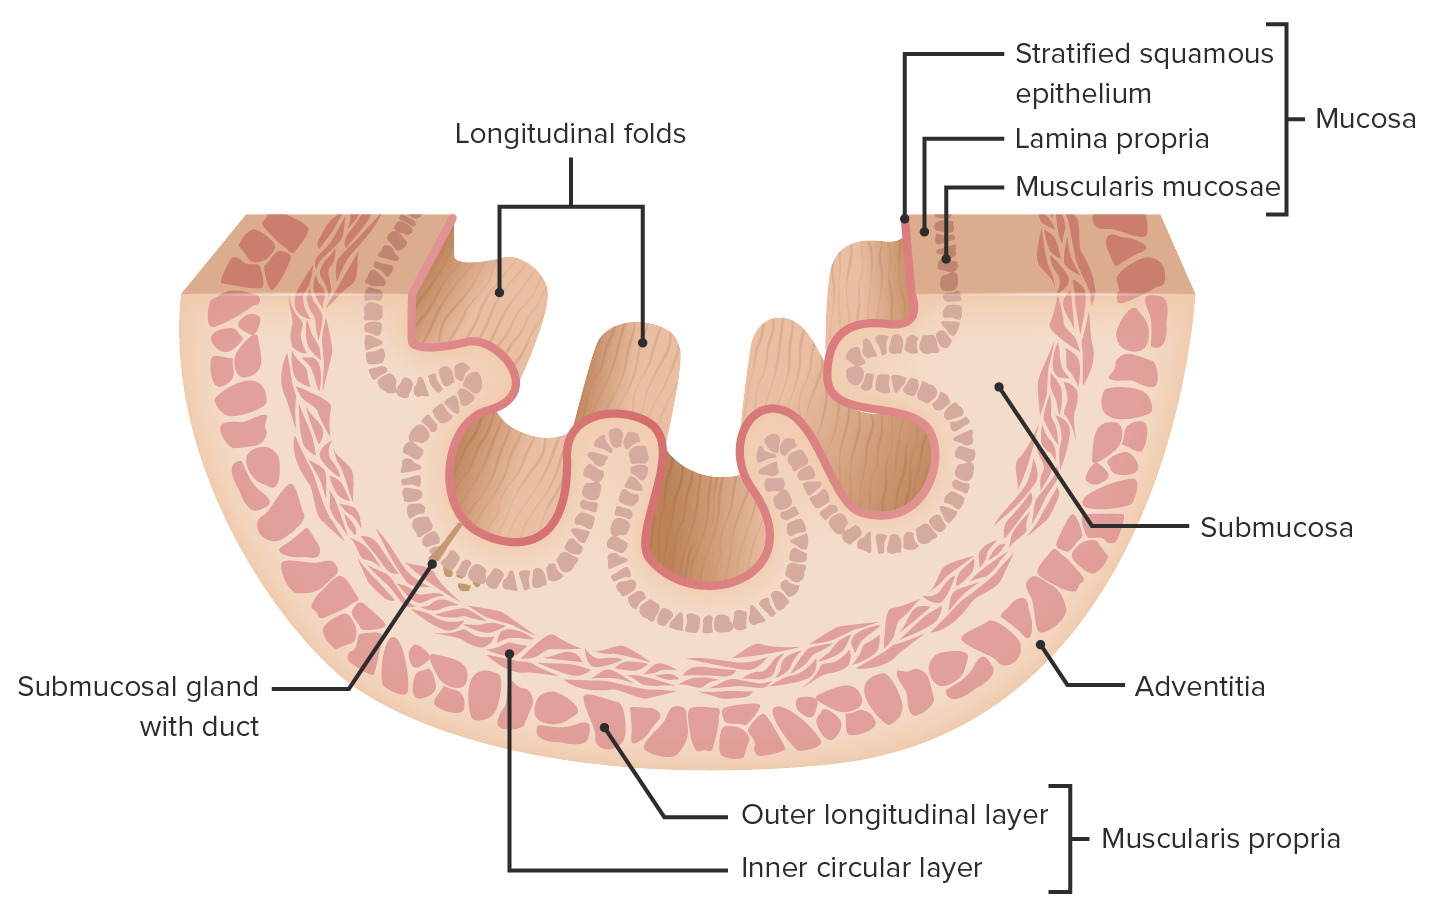
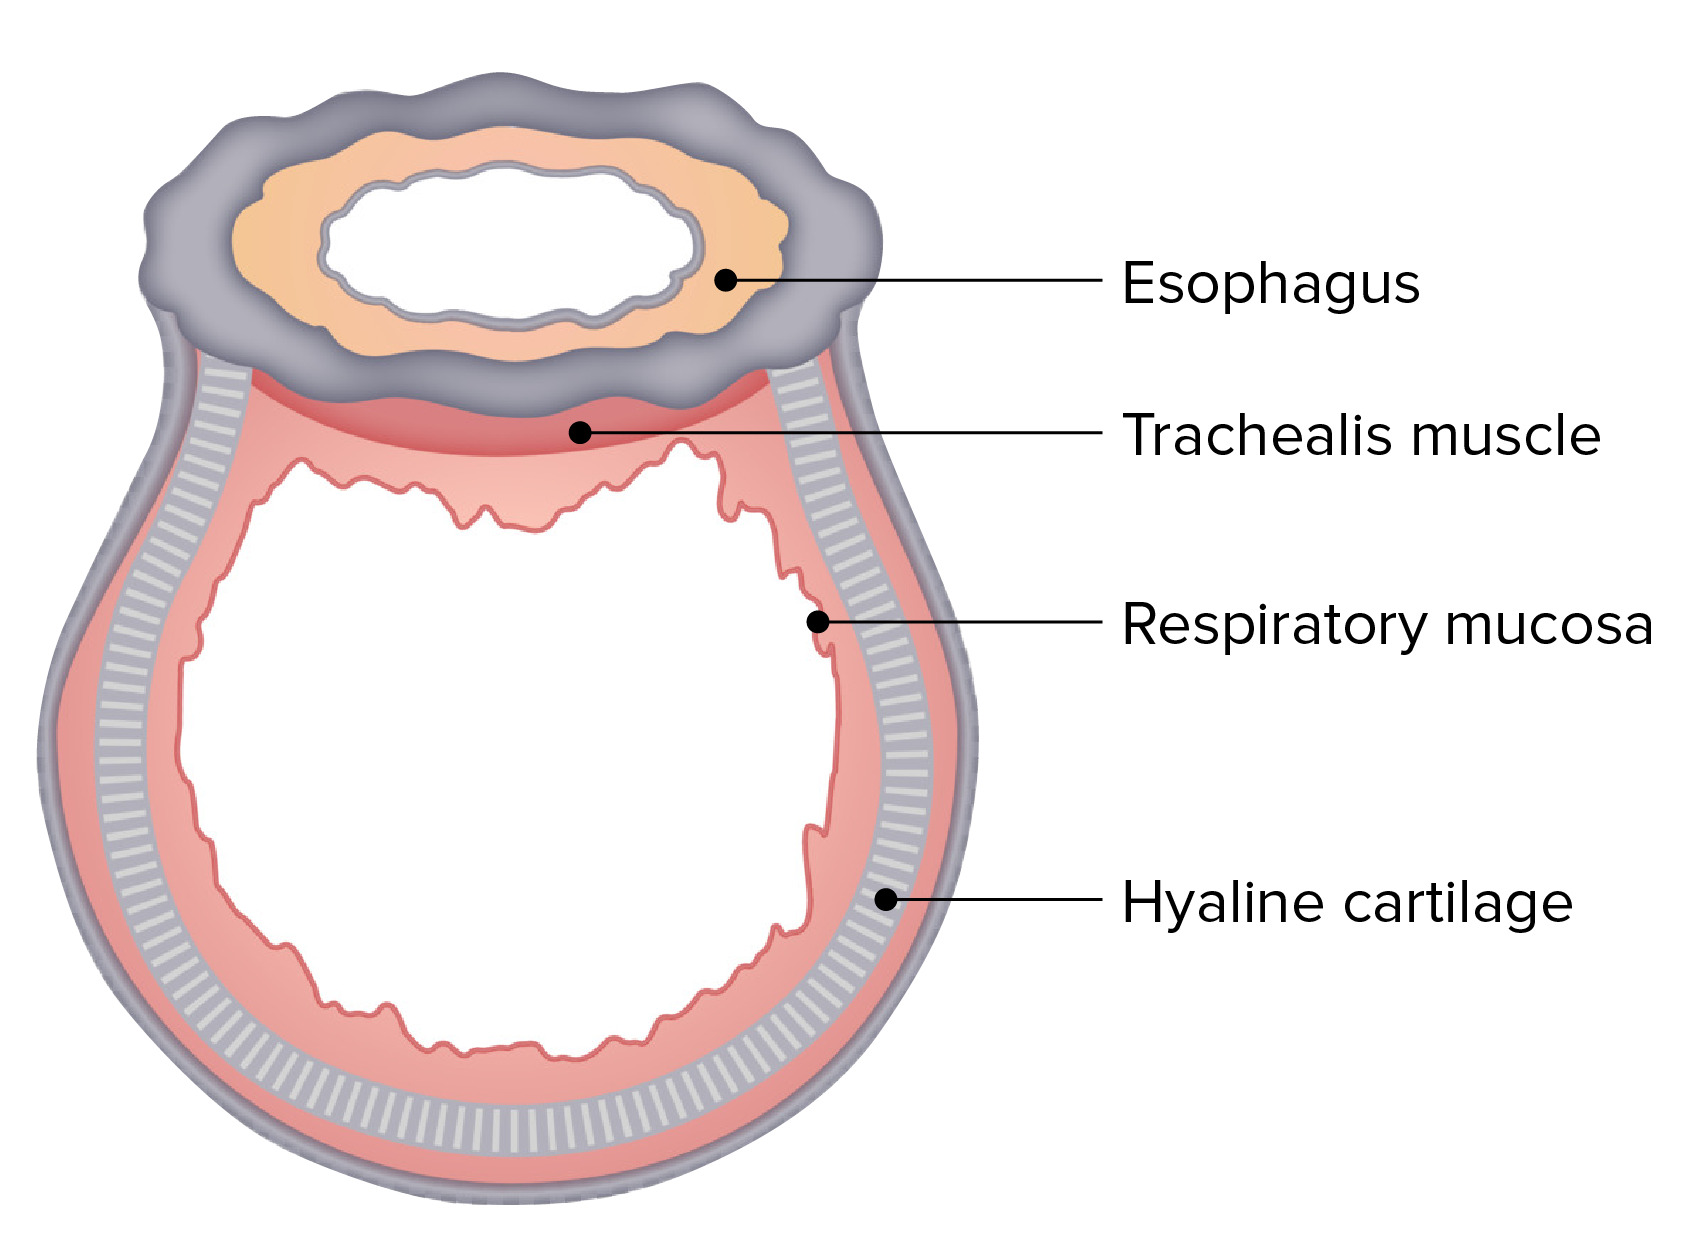
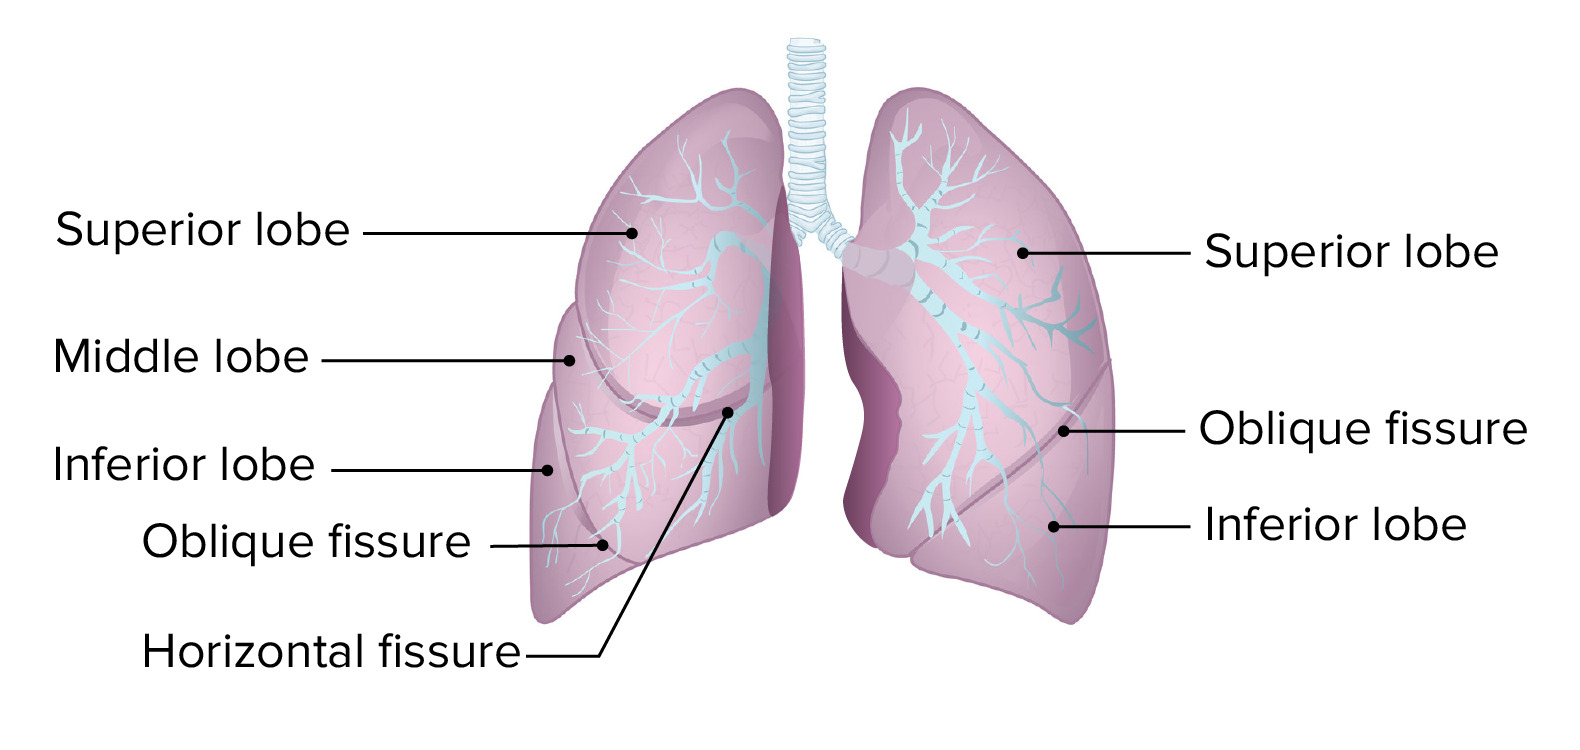
00:01 Welcome to this lecture on Pulmonary Structures and Esophagus. 00:06 This slide captures the learning objectives that you should be able to answer at the conclusion of this lecture. 00:13 First, describe the pleural membranes and associated recesses. 00:18 Describe the trachea, its wall composition and bronchial branching pattern. 00:26 Compare and contrast the features of the right and left lungs. 00:30 Describe the applied anatomy in performing a thoracentesis. 00:34 Describe the esophageal segments, constrictions and the layers forming its wall. 00:41 Describe the locations of esophageal diverticula and the relevance of Killian’s triangle. 00:49 And then we’ll summarize the key take-home messages from this lecture. 00:53 Lastly, we’ll provide attribution for the images that were used throughout this presentation. 01:02 Here is our body map and most of our attention is going to be focused in the pleural cavities. 01:11 And then, we’ll also focus some of our attention in the mediastinum when we look at the esophagus and trachea, bronchi. 01:23 This particular slide represents the rationale for talking about not only respiratory structures such as the trachea, the bronchi and the lungs, but also to include the esophagus. 01:40 What is interesting, developmentally, is that the foregut derivatives will give rise not only to GI structures, but will also give rise to the pulmonary airways and the lungs. 01:57 So, if we take a look at this area here, we are looking at the primitive foregut region and here we see the development of the trachea which then will lead to the development of its branching pattern and then, more distally, to the development of the lungs. 02:16 Here running posterior to the development of the trachea would be the portion of the foregut that will give rise to the esophagus, the stomach and the proximal duodenum as well as GI organs: the liver, its associated biliary apparatus and then the pancreas. 02:43 This slide is demonstrating the concept of the pleural membranes. Since the lungs reside within their pleural cavities, we will have investments of pleural membranes. So, we’ll need to understand those membranes. 03:00 Here we’re looking at the right lung. Here is the left lung. And then, lining the thoracic cavity on either side, is this outer green line. So, it’s just on the inner thoracic wall. This is going to be your parietal pleura. It similarly will be adhered to the inner thoracic wall associated with the left pleural cavity. If we follow this parietal pleural membrane posteriorly, we will see that, at the area where we have our vertebral column, it will reflect back onto the surface of the lung. This portion of the pleural membrane that’s adherent to the surface of the lung is now referred to as the visceral pleura. 03:53 There is a potential space between these two pleural membranes and this potential space represents the pleural cavity. In some cases, excessive fluid, it may be blood or other types of fluid that will excessively accumulate within the pleural cavity converting the potential space then into a fluid-occupied space. 04:20 This slide depicts the parietal pleural membrane and its subdivisions. The subdivisions of the parietal pleura are going to be named according to the anatomic relationship of each one. So, let’s take a look at those anatomic relationships. 04:40 Here, we can see the cut edge of the parietal pleura associated with the right pleural cavity and then over here we see the cut edge of the parietal pleura that’s associated with the left pleural cavity. 04:56 Most of the parietal pleura is going to have a relationship to the vertebral column and the rib cage. That then will be referred to as the costovertebral pleura or simply the costal pleura. 05:13 If we take a look, we also have the parietal pleura that will cover the superior surface of the left dome of the diaphragm along here and then ascend up. Similarly, on the right side, we have a portion of the parietal pleura that’s associated with the right dome of the diaphragm. This, then, is referred to as the diaphragmatic pleura. 05:37 We will also have pleura that extends up and over the apex of each lung up into the cervical region, the inferior part of the neck. This will be termed the cervical parietal pleura. 05:51 And then lastly, we’ll have parietal pleura associated with each lung that will face the mediastinum. And this would be referred to as your mediastinal pleura. 06:04 When we think about the pleural membranes and where they have points of reflection anatomically, these points of reflection of the parietal pleura will create various types of recesses that are associated with the pleural cavities. We have costal-diaphragmatic recesses associated with the lungs, we have costal-mediastinal recesses associated with each of the lungs and we have vertebral mediastinal recesses associated with the lungs. 06:39 The first two recesses are depicted, are illustrated on this image. And so, the first one is a fairly significant recess that projects inferiorly and this is going to be the costodiaphragmatic recess. 06:55 Here we have the costal pleura and then, at this point, it reflects onto the surface of the diaphragm, becoming the diaphragmatic pleura. And so, this area here is the costodiaphragmatic recess. This represents a potential space and may, in some cases, accumulate fluid. 07:20 We have the same costodiaphragmatic recess that’s situated here on the left side as well. 07:29 The costomediastinal recess is along in through here with the right lung. 07:36 We also have one on the left side. 07:39 This represents the point where the costoparietal pleura is going to bend and become the mediastinal parietal pleura. 07:49 The next slide will demonstrate the vertebral mediastinal recesses. And that can be seen along here. Again, the left side of the image represents the right lung and here we have the pleura reflecting in this area. This space here is a potential space called the vertebral mediastinal recess. And then we would have a similar recess over here associated with the other lung. 08:22 The next slide is going to demonstrate a procedure called a thoracentesis. This type of procedure is performed when there’s excessive fluid accumulation in the pleural cavity. There are several causes of excessive fluid accumulation. The three primary causes would be heart failure, lung infections as well as tumours. 08:46 When fluid becomes excessive, it has to be removed from the pleural cavities and that’s when a thoracentesis is performed. And then let’s understand our applied anatomy to be able to perform this procedure. 09:02 Here we’re in the mid-axillary line for our point of reference. This happens to be rib 9. This happens to be rib 10. So, we’re operating within the 9th intercostal space. 09:20 Just inferior to rib 9, we have intercostal structures, neurovascular structures, and we want to avoid those so that we don’t damage them. So, the best approach then is to find the rib inferiorly here. And that is going to be rib 10 and then to advance the needle over its superior surface. And you can see the tip of the needle has been introduced into the costodiaphragmatic recess. And then fluid can be removed once this needle has entered that particular recess.
About the Lecture
The lecture Pleural Membranes – Pulmonary Structures and Esophagus by Craig Canby, PhD is from the course Thoracic Viscera with Dr. Canby.
Included Quiz Questions
What region of the parietal pleura faces the heart?
- Mediastinal pleura
- Cervical pleura
- Costovertebral pleura
- Diaphragmatic pleura
With the patient in an upright position, where would fluid be best removed during a thoracentesis?
- Costodiaphragmatic recess
- Vertebromediastinal recess
- Costomediastinal recess
- Vertebrodiaphragmatic recess
Which body part is not a derivative of the foregut?
- Thyroid
- Lungs
- Trachea
- Esophagus
- Pancreas
Which pleural membrane is present anatomically most inferiorly?
- Diaphragmatic
- Mediastinal
- Costovertebral
- Costal
- Cervical
Customer reviews
5,0 of 5 stars
| 5 Stars |
|
1 |
| 4 Stars |
|
0 |
| 3 Stars |
|
0 |
| 2 Stars |
|
0 |
| 1 Star |
|
0 |
v good lecture style . your videos are so simple that I can easily understand...thank u sir

